Contents
Pre-requisites
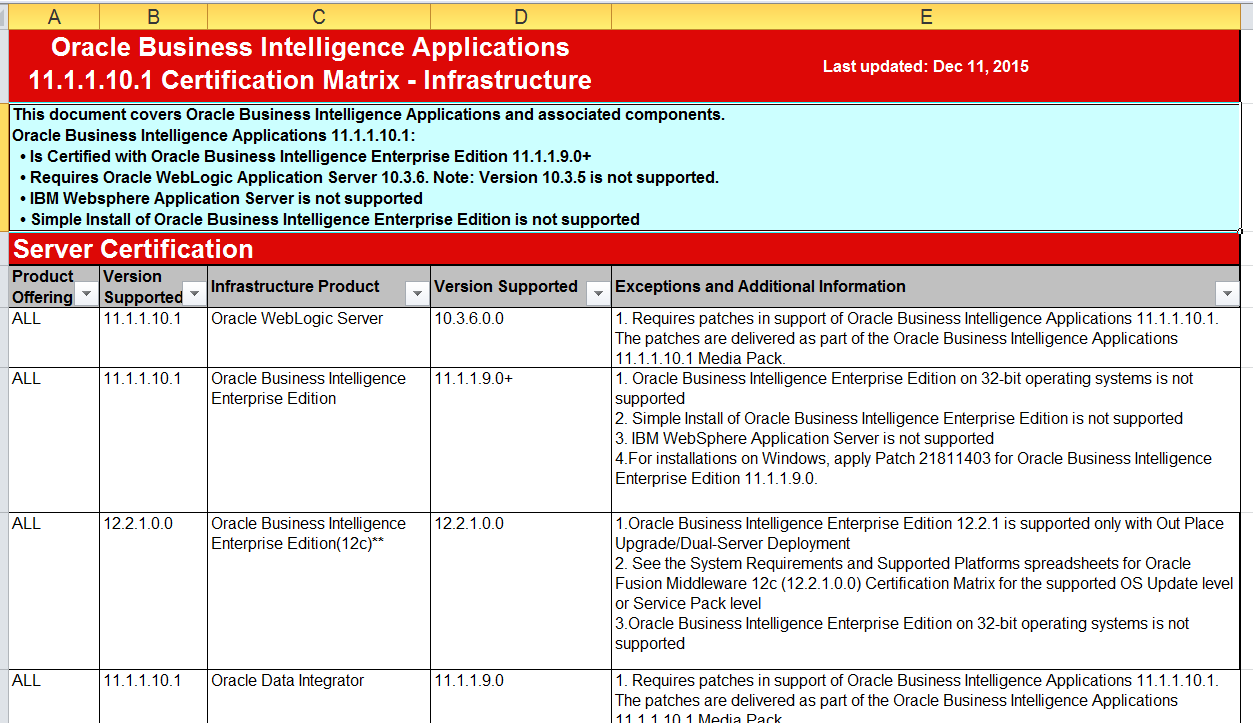

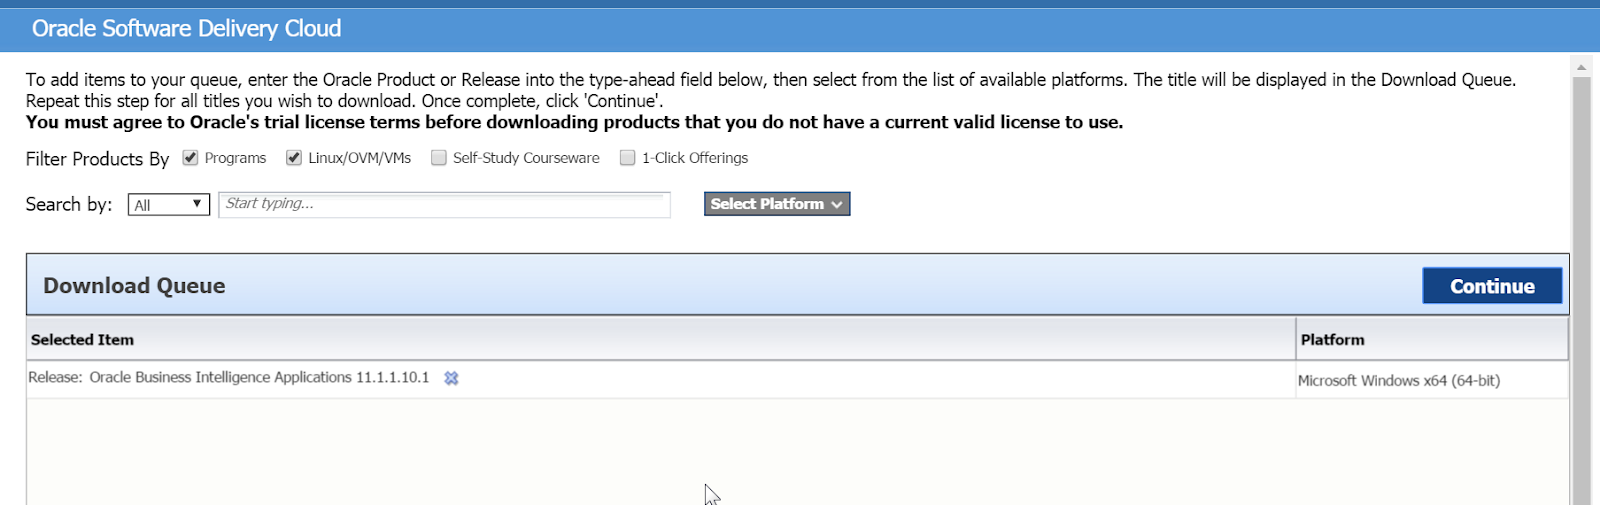
Download the Software from Oracle edelivery.oracle.com site

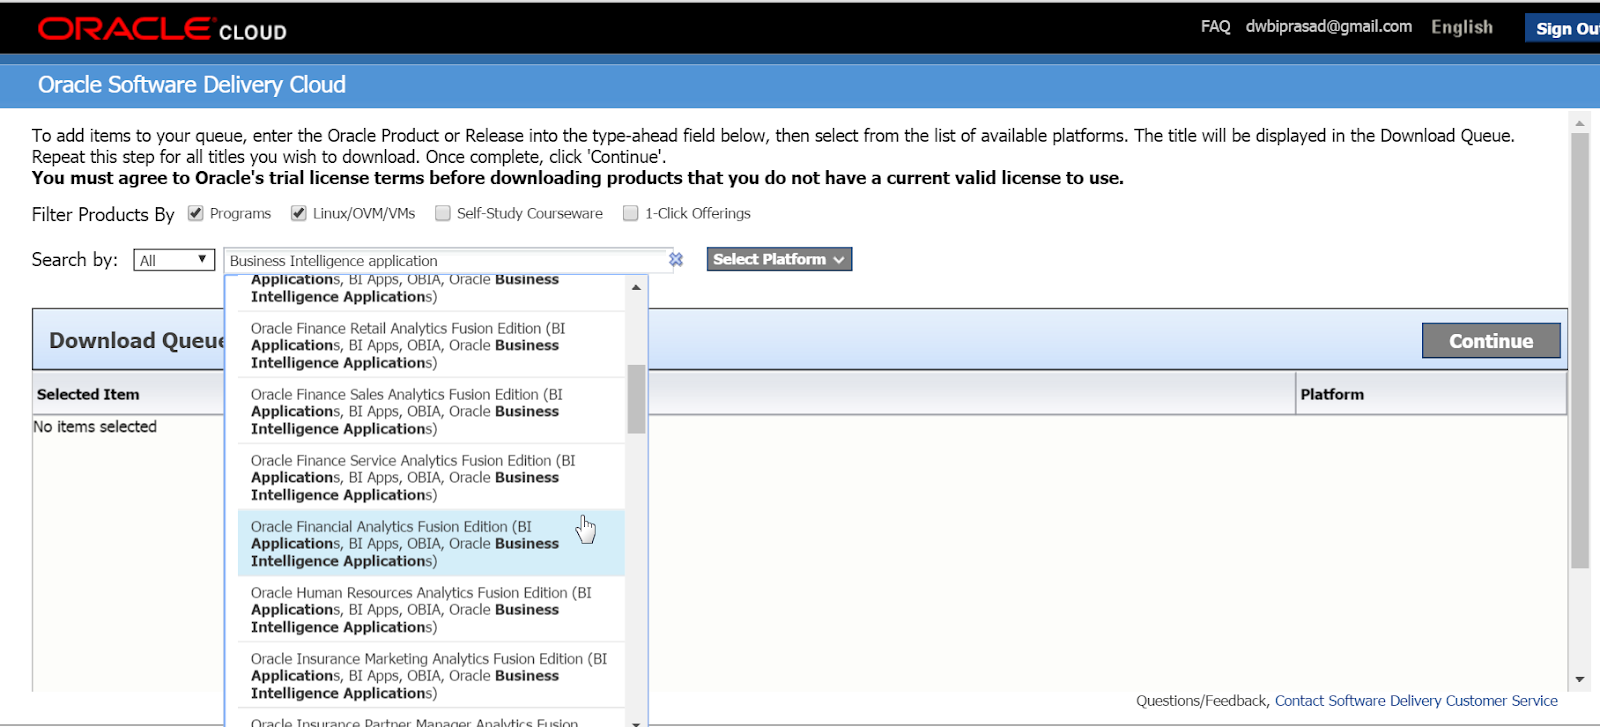
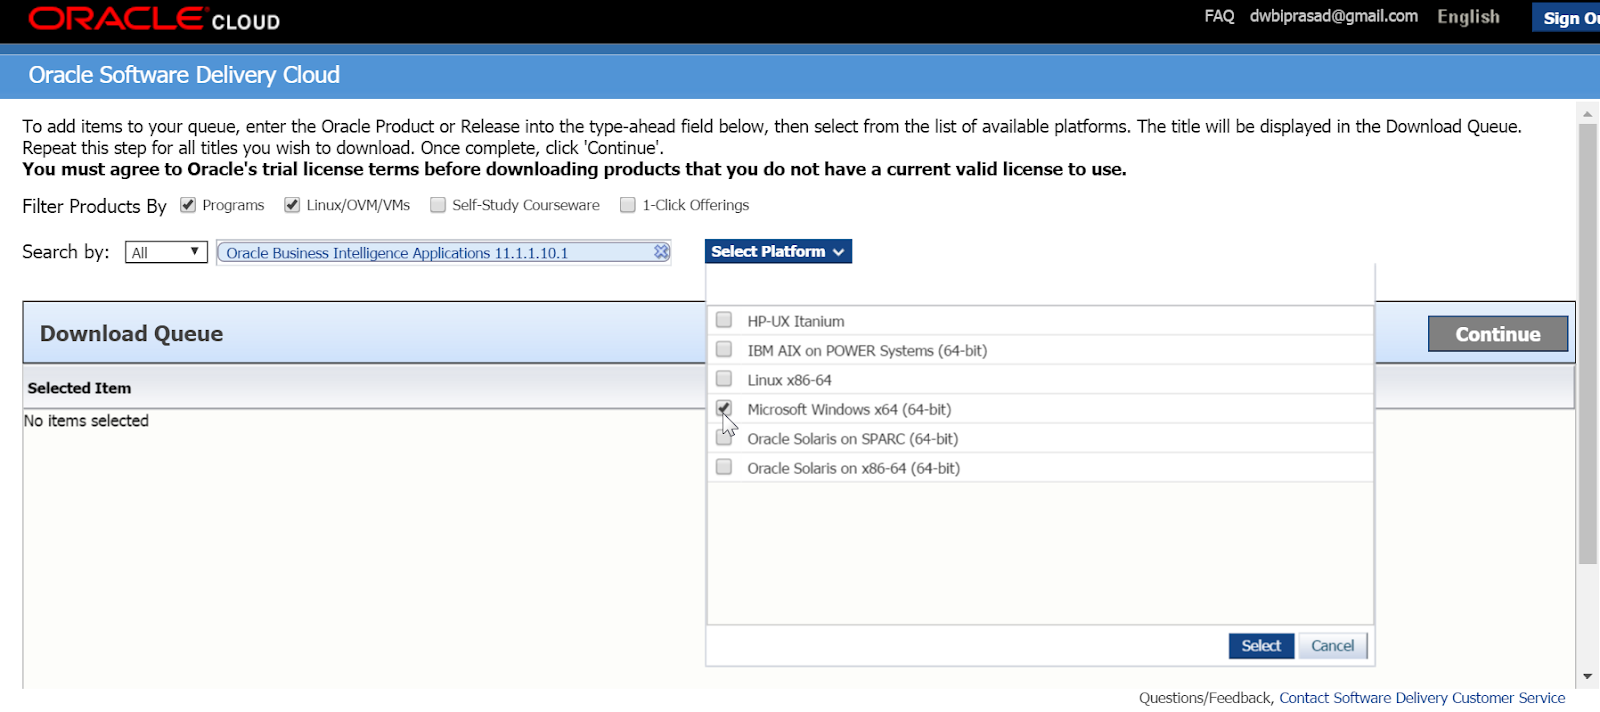


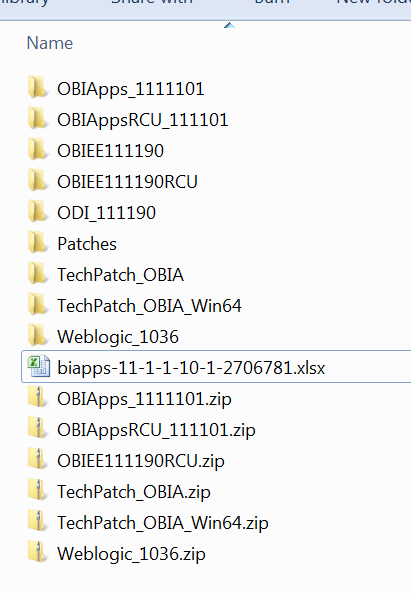
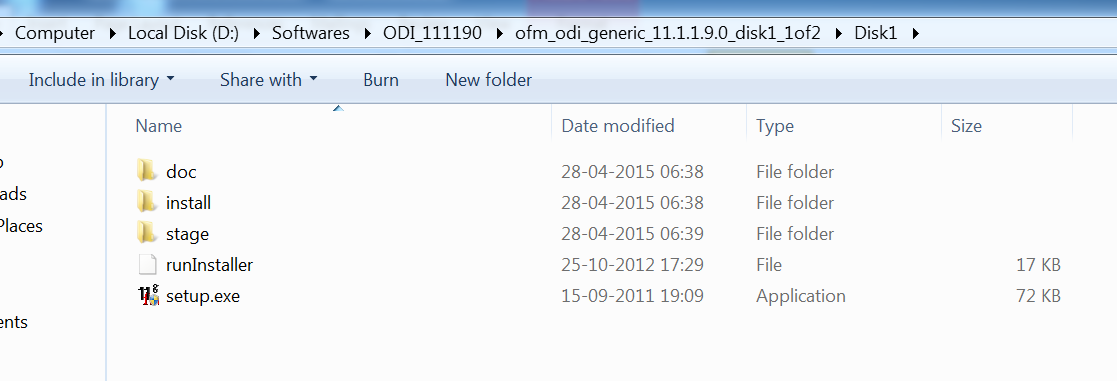
We have the all the software’s downloaded in one folder. Patches [TechPatch_OBIA] and [TechPatch_OBIA_Win64] extracted into folder ‘Patches’ as shown below.
JDK or JRockit
Install Oracle BI Applications, requires JDK version 1.6.0_35 or a version below JDK version 1.7.x

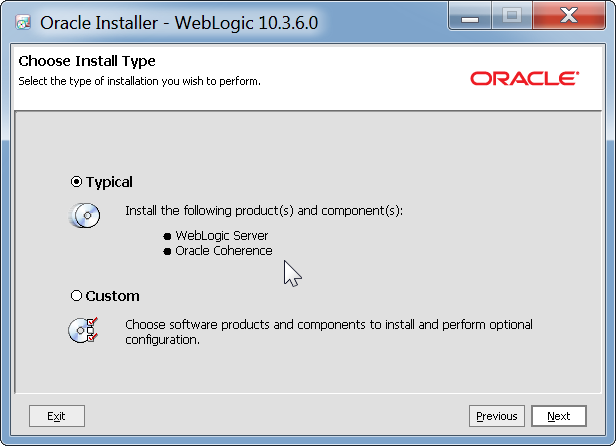
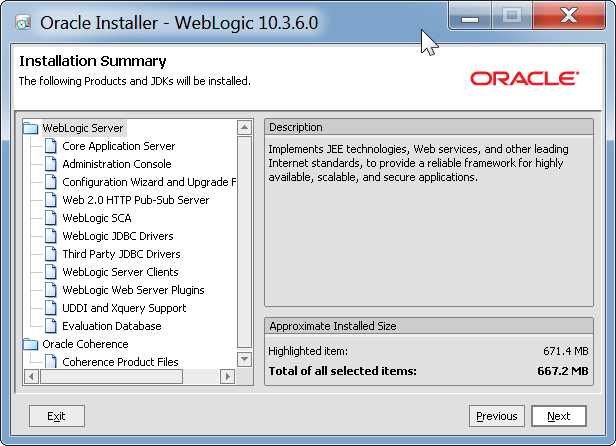
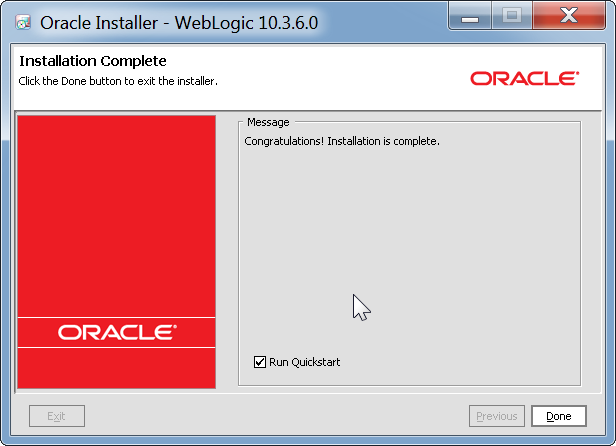
Install Weblogic 10.3.6


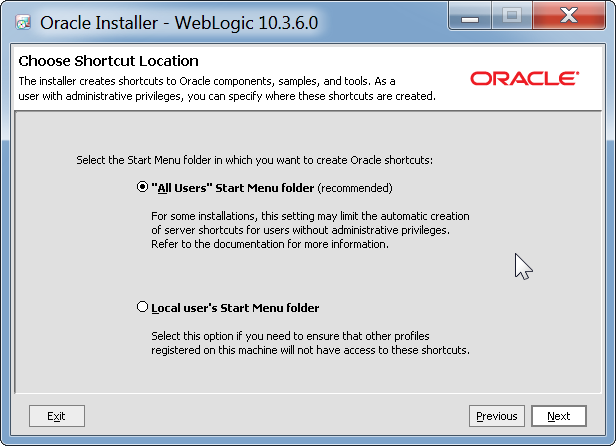

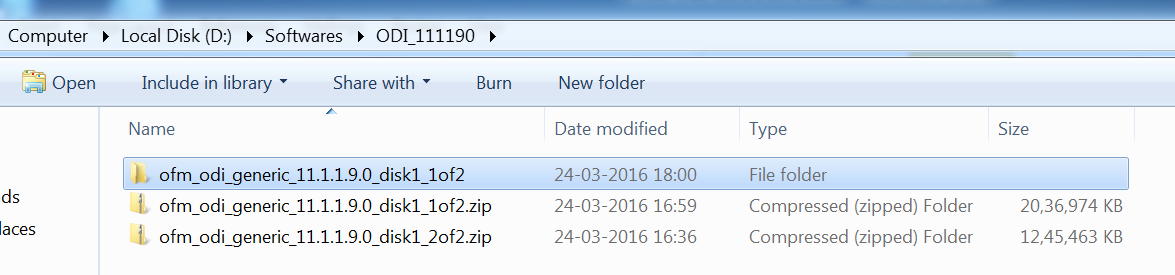
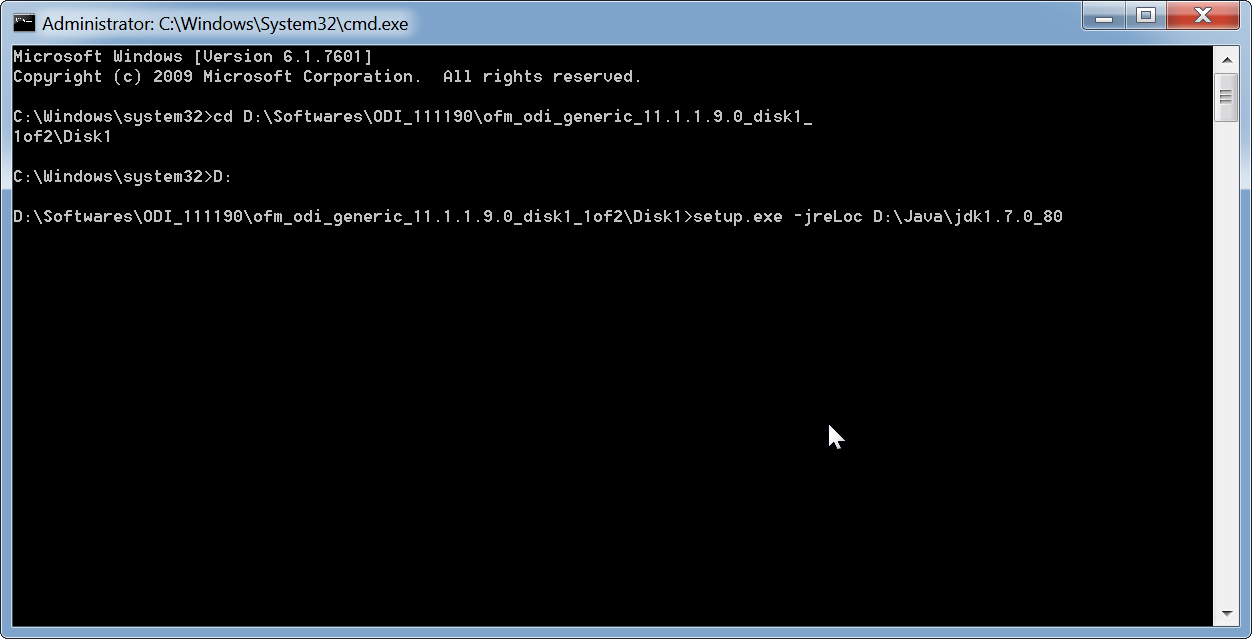
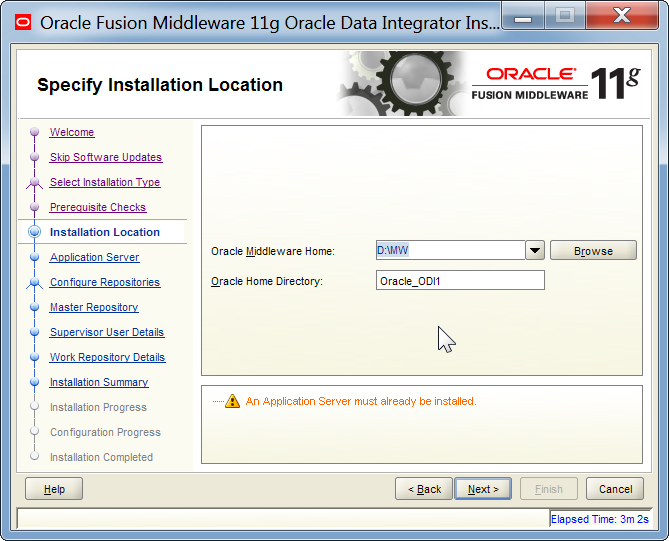
Install ODI 11.1.1.9.0

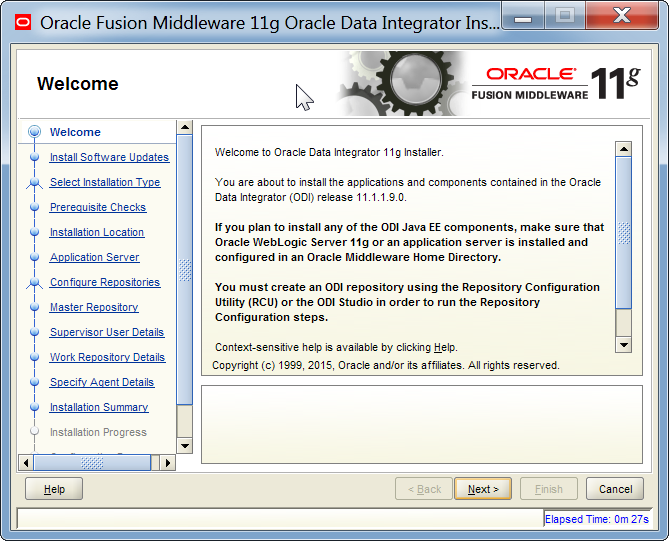

- On the Oracle Data Integrator installer Welcome screen, ignore the message regarding creation of the Oracle Data Integrator Repository. You will create the Oracle Data Integrator Repository for Oracle BI Applications later when you run the Business Analytics Applications Suite RCU.
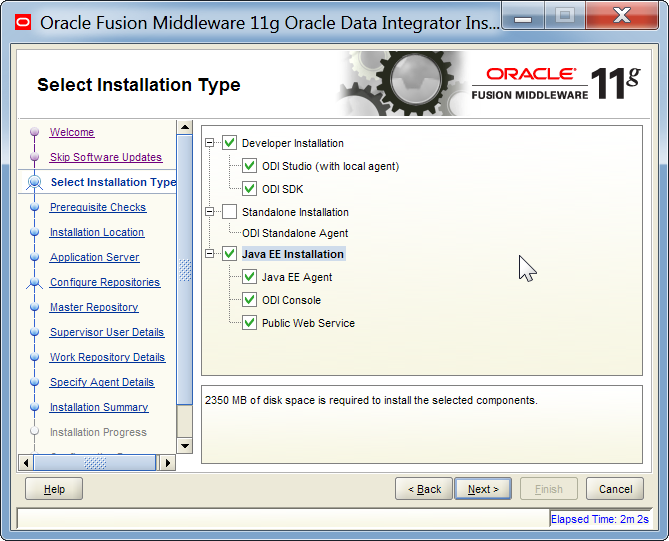
- On the Select Installation Type screen, select all the components under Java EE Installation that is, Java EE Agent, ODI Console, and Public Web Service.
- On the Select Installation Type screen, if you also choose to install ODI Studio, then you must also select the ODI SDK option.


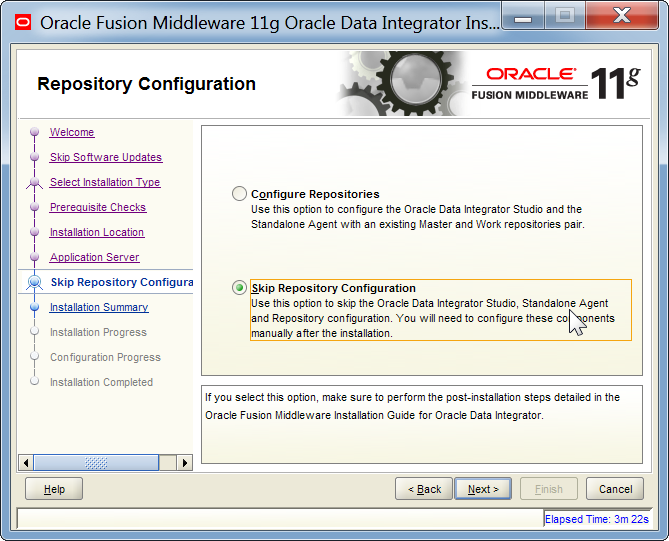
If you chose to install ODI Studio, then on the Repository Configuration screen, you must select the Skip Repository Configuration option


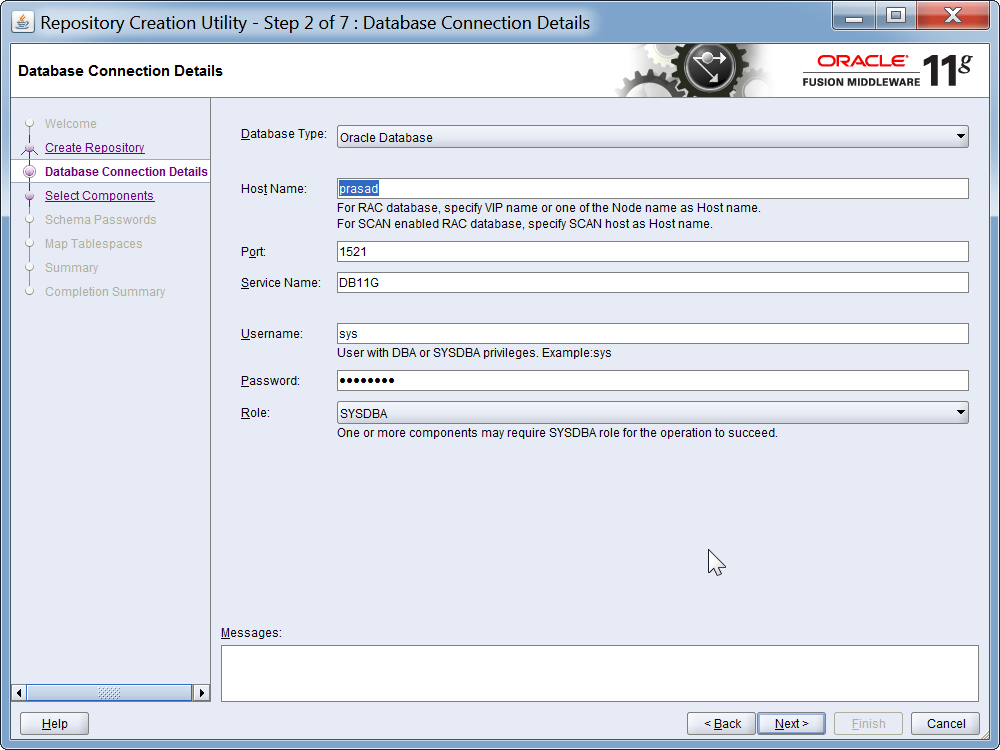
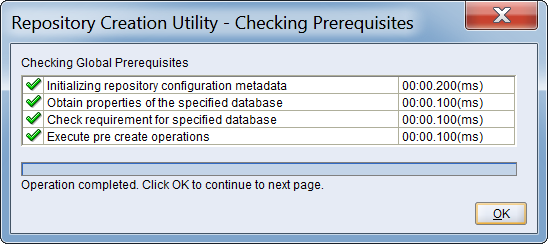
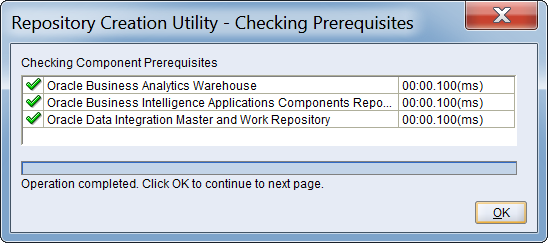
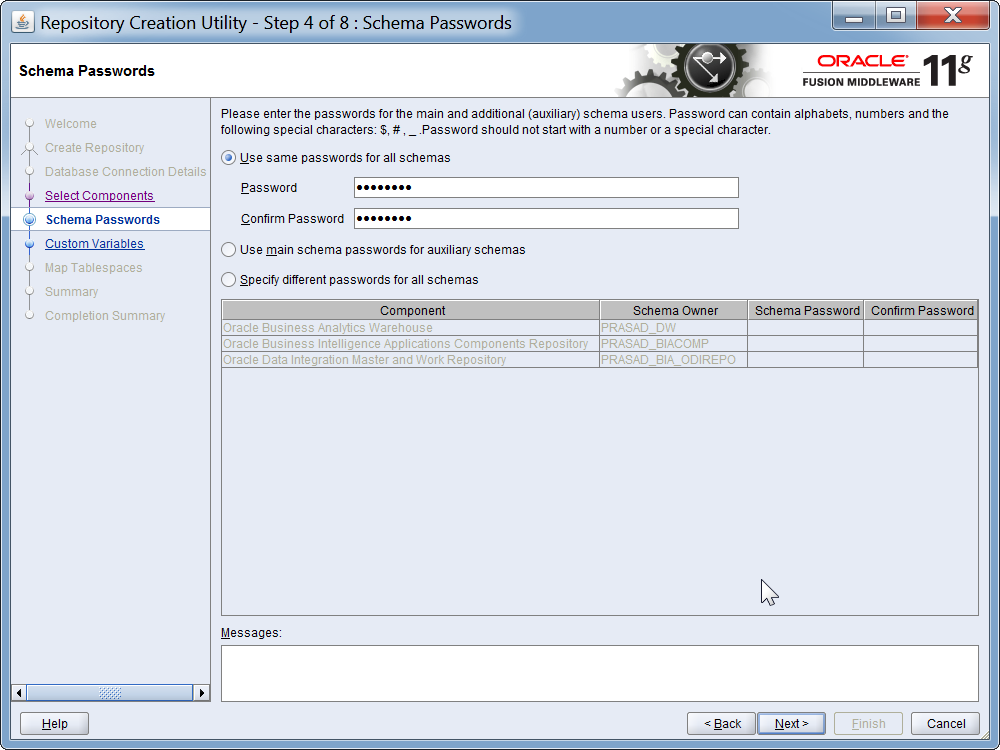
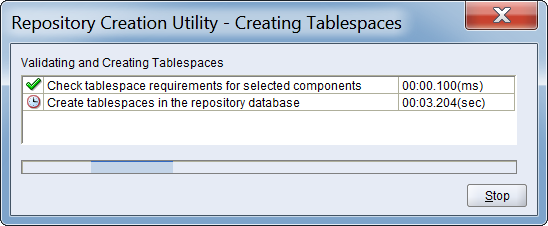
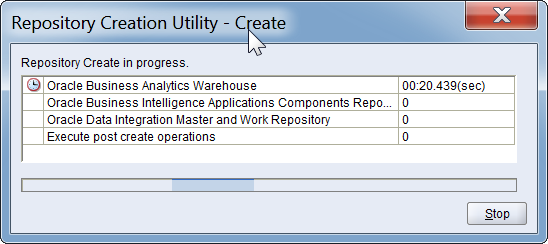
Creating Schemas Using Business Analytics Applications Suite RCU
Navigate to Oracle BI Application RCU installer\Bin folder
D:\Softwares\OBIAppsRCU_111101\bin\Rcu.bat


If you are deploying cloud data sources, then select the check box for the applicable BI Applications SDS schemas as seen in the following image. RCU creates the schemas for the selected cloud source systems. 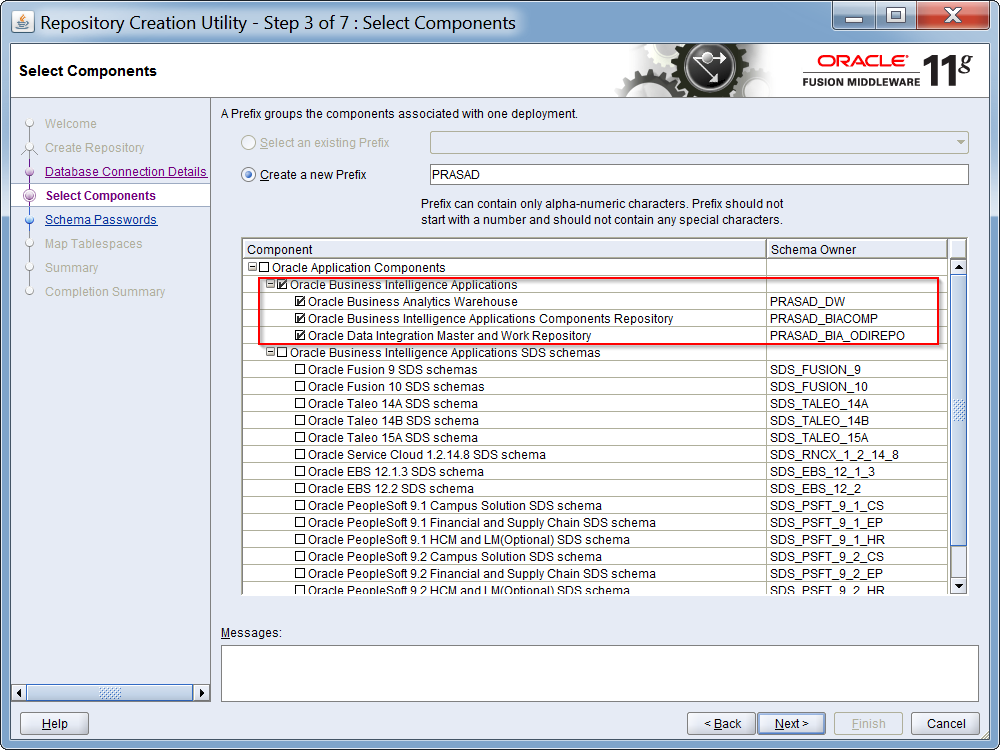
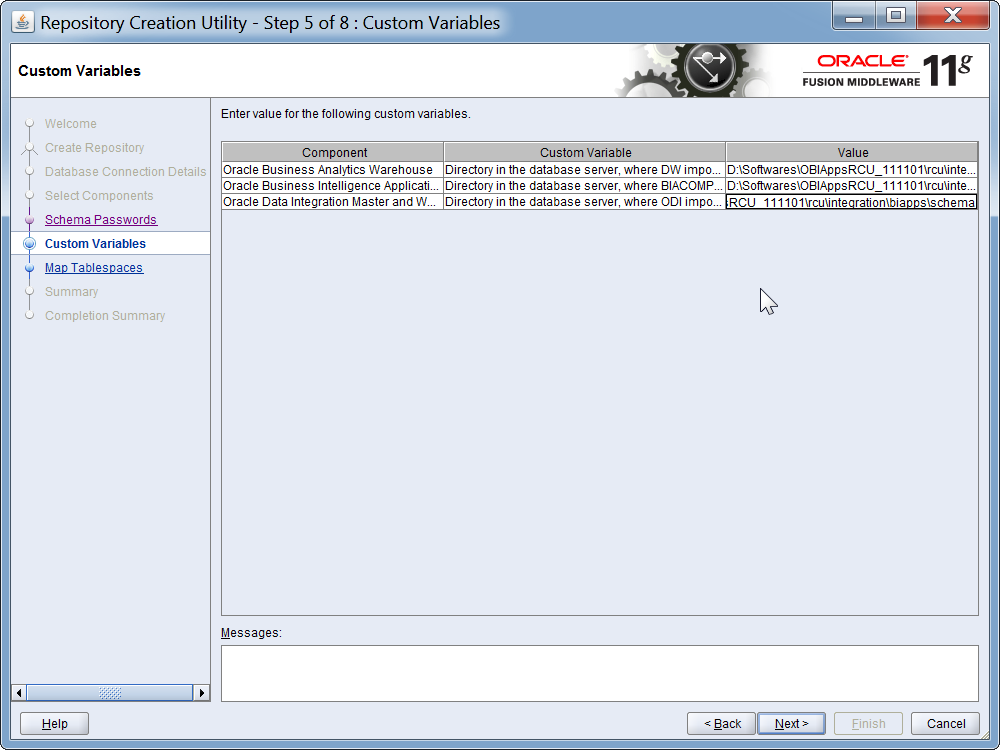
The BIApps RCU uses .dmp files to create the required schemas. Before you perform the action in the Custom Variables screen, you must copy the .dmp files for each schema to a directory with global write access on the appropriate database server host machine. (RCU writes log files to this directory). The .dmp files are located in BIA_RCU_HOME\rcu\integration\biapps\schema.
D:\Softwares\OBIAppsRCU_111101\rcu\integration\biapps\schema
n the Value field in the Custom Variables screen, for each schema enter the directory path of the folder on the database server that contains the .dmp file.
Note: Do not include the name of the .dmp file in the directory path.


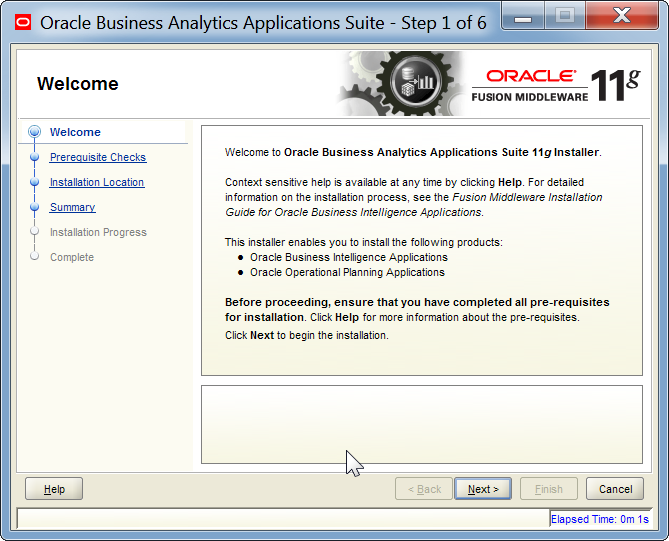
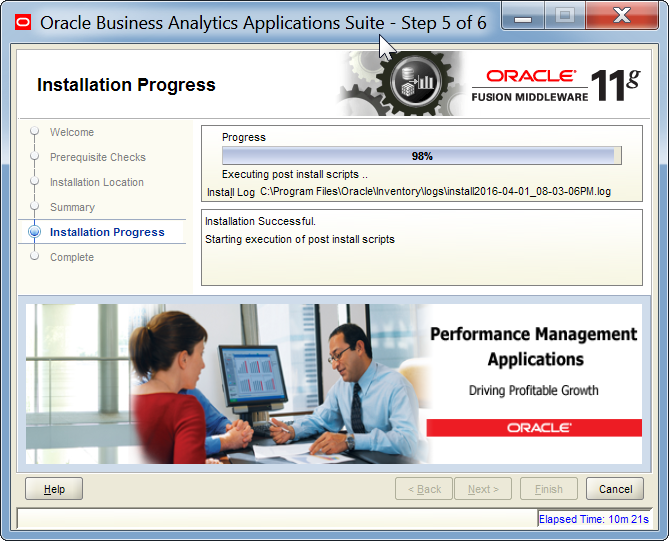
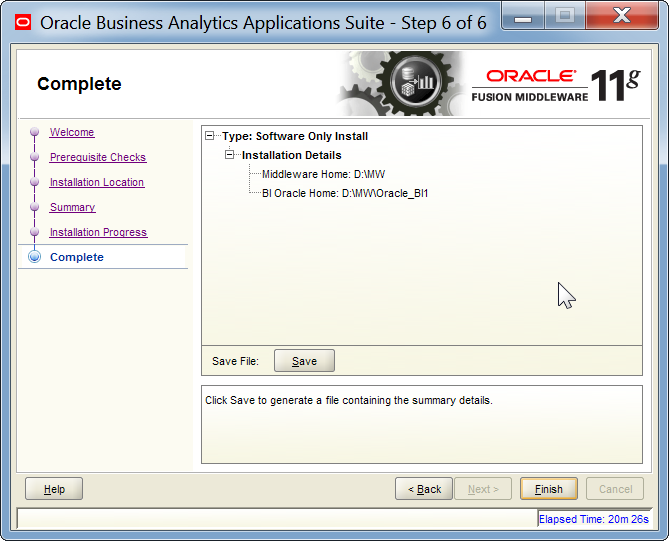
Installing Oracle BI Applications Using the Business Analytics Applications Suite Installer
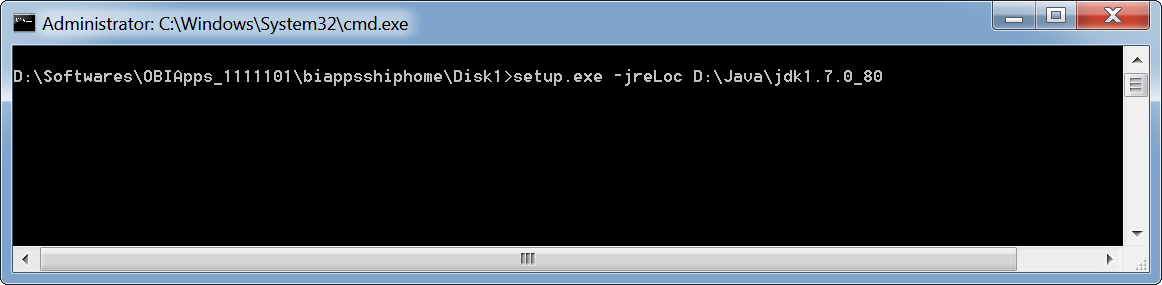

Caution: As we have already install FWM OBIEE, Middleware home will have existing Oracle_BI1. So the installer will show Oracle_BI2. But In Oracle BI Application, we have to install the OBIApps installer in same OBIEE home Oracle_BI1.
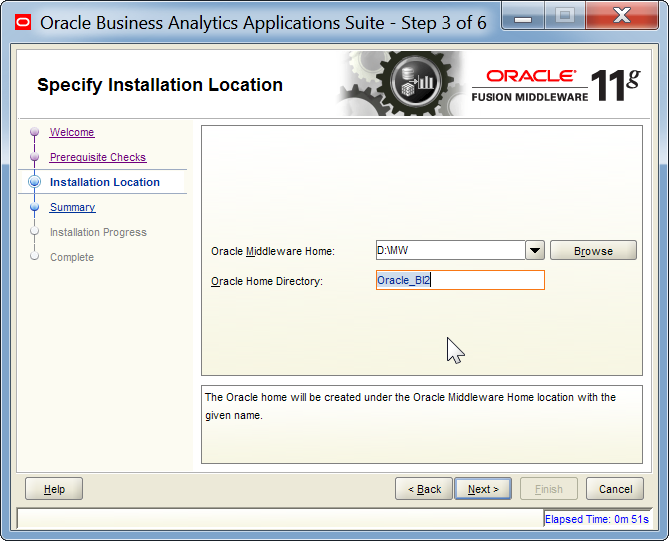
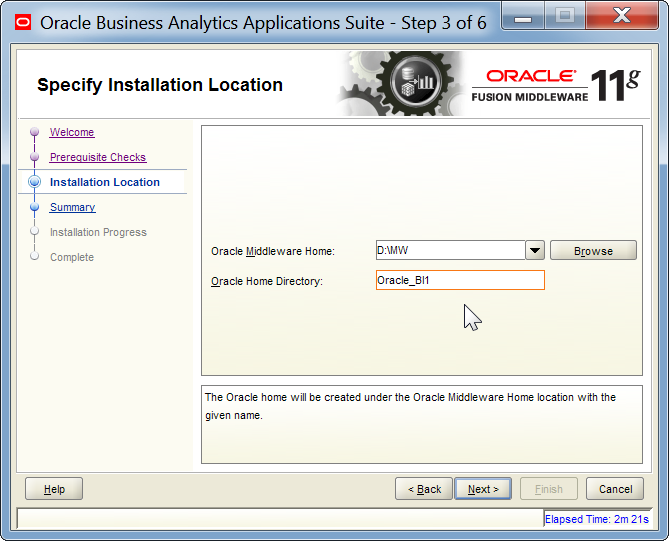

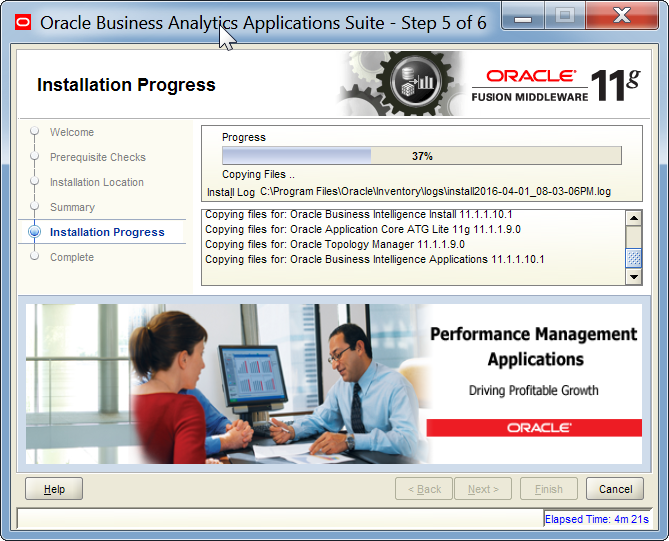
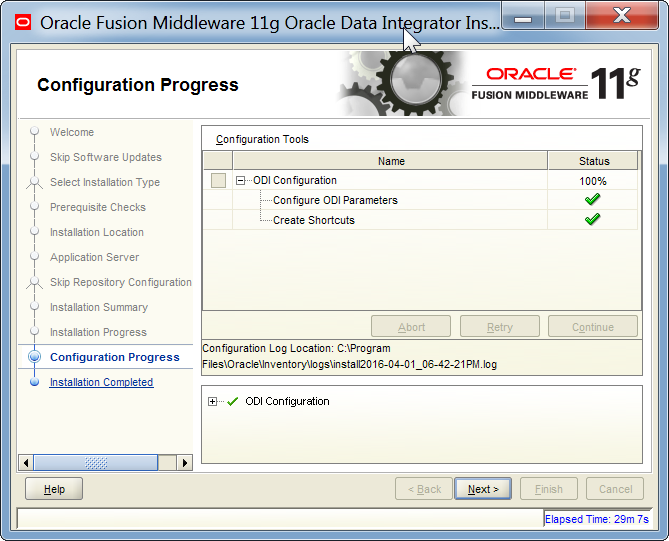
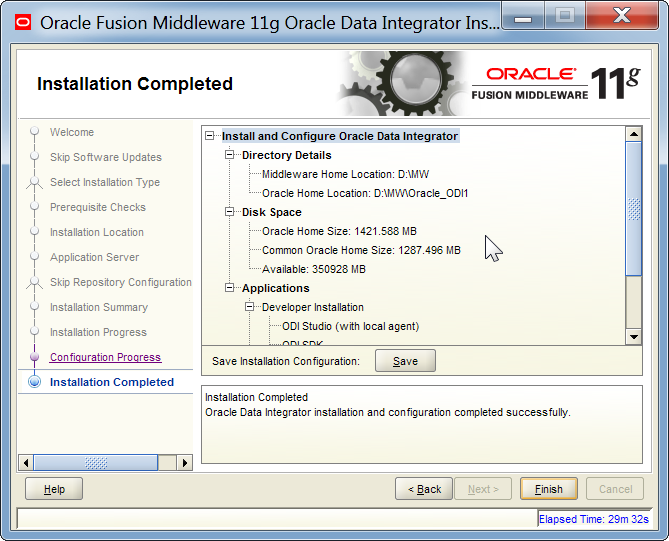
Caution: Even when the progress bar on the installer reports 100% complete, wait until the Finish button is displayed.

Applying the Fusion Middleware Platform Patch
- Extract the Oracle Fusion Middleware Platform Patches for Oracle Business Intelligence Applications – TechPatch_OBIA.zip and TechPatch_OBIA_Win64.zip folder Patches.
Navigate to Oracle Home in our case D:\MW\Oracle_BI1\biapps\tools\bin

- Open the ‘apply_patches_import.txt in text editor. It will be shown as below.
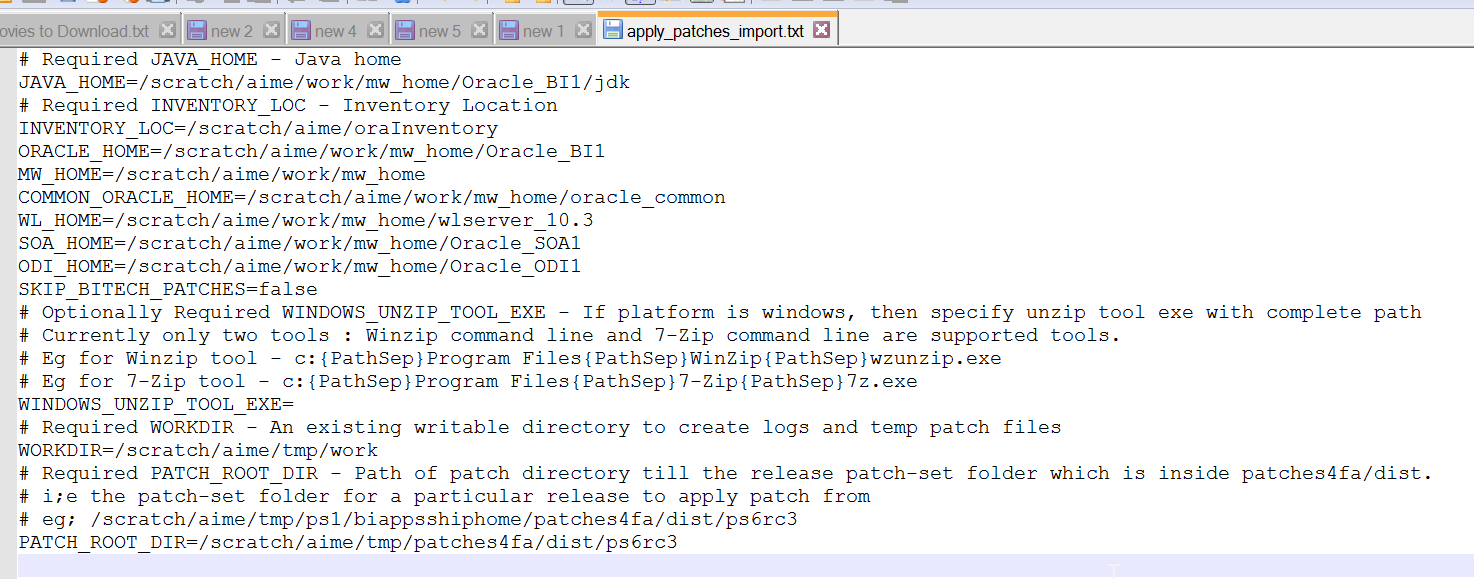
- Edit as per your Oracle_HOME, ODI_HOME,Weblogic Server Home.

- Run the Following command from command prompt.
Perl D:\MW\Oracle_BI1\biapps\tools\bin\APPLY_PATCHES.pl D:\MW\Oracle_BI1\biapps\tools\bin\apply_patches_import.txt


Apply Weblogic patches manually using the suwrapper command line utility.
Perform this step after executing the APPLY_PATCH.pl script and before configuring BI Tech. You must apply the Weblogic patches on all OS platforms. Complete these steps:
- Create folder in ‘Cache_dir’ in MW_Home\utils\bsu\ if it does not exist.
- Unzip the patch \p21450942_WLS_rel9bp30_1036_Generic.zip to MW_Home\utils\bsu\cache_dir
- It should have only 3 kinds of files : .XML and .jar and Readme files and no folders.
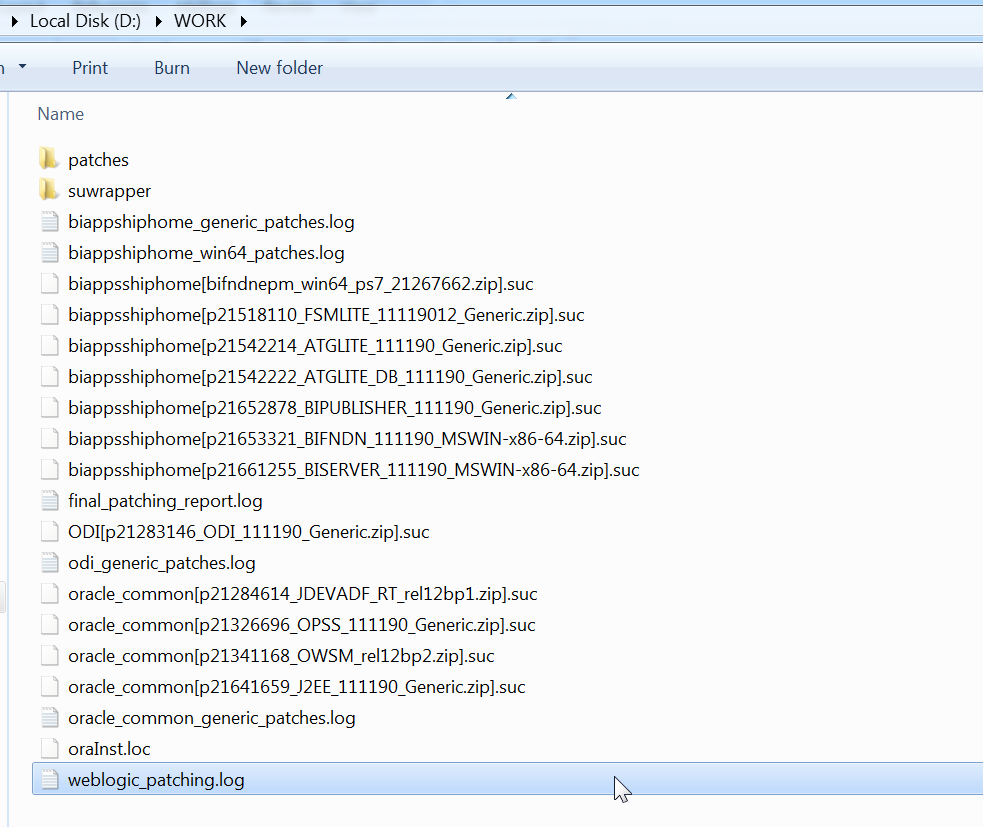
- In Temp directory D:\WORK\suwrapper directory unzip the patch “p21481057_SUWRAPPER_1036_Generic.zip”
- Execute the patching utility jar to apply the patch. Use the following command:
\Oracle_BI1\jdk\bin\java -jar \bsu-wrapper.jar - prod_dir=\wlserver_10.3 -install -patchlist=BUNQ -bsu_home= \utils\bsu -meta=\suw_metadata.txt -verbose > \weblogic_patching.log
In My case:
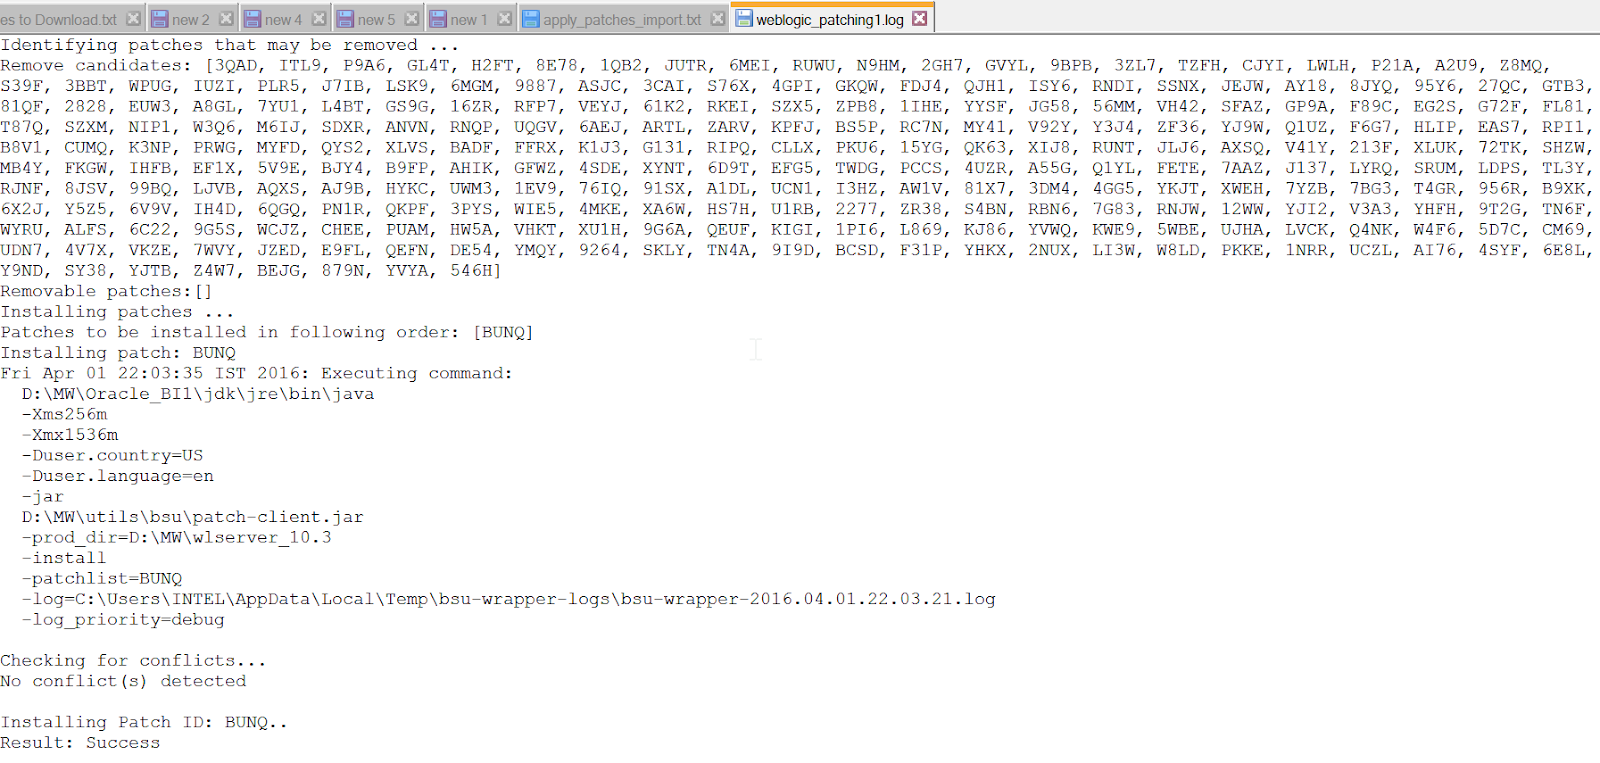
D:\MW\Oracle_BI1\jdk\bin\java -jar D:\WORK\suwrapper\bsu-wrapper.jar -prod_dir=D:\MW\wlserver_10.3 -install -patchlist=BUNQ -bsu_home=D:\MW\utils\bsu -meta=D:\WORK\suwrapper\suw_metadata.txt -verbose > D:\WORK\weblogic_patching1.log

When we see the Weblogic_patching.log file. Its success.
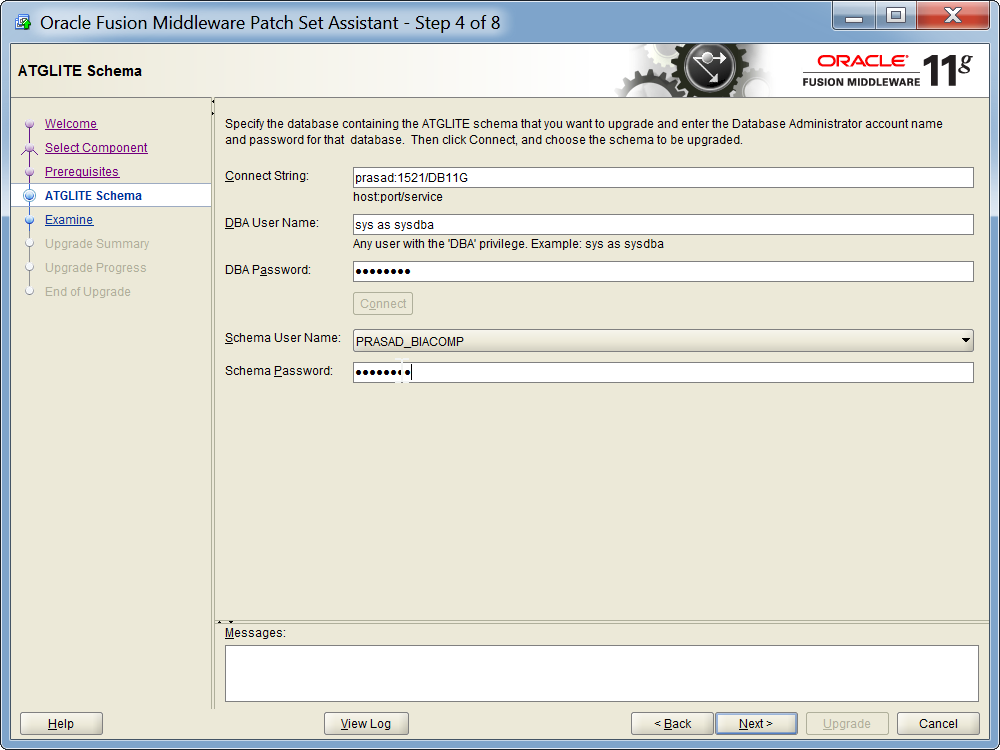
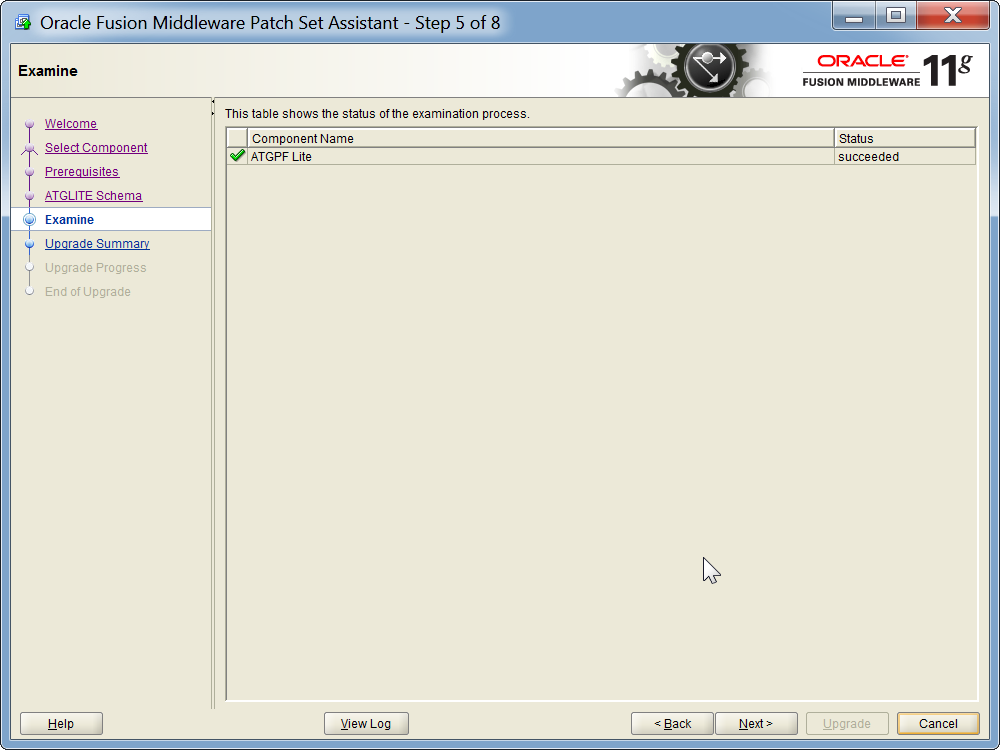
Updating ATGLite
- Update the ATGLite data in the BIACOMP schema.
- Upgrade ATGLite schemas from 11.1.1.7.0 to 11.1.1.7.3 before configuring BI Applications
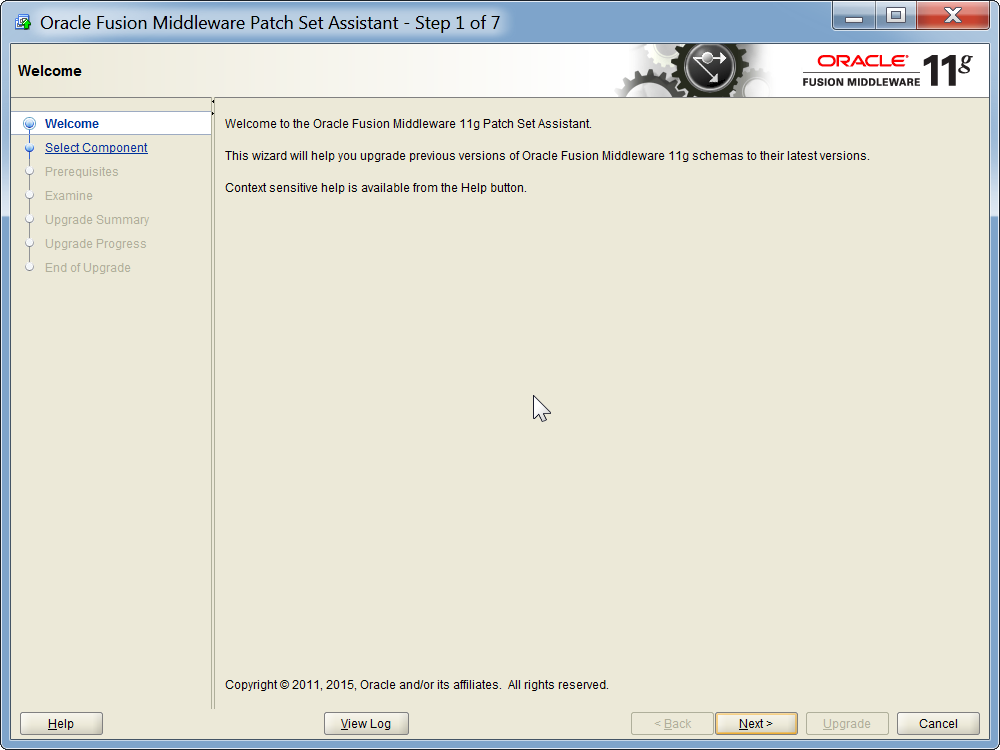
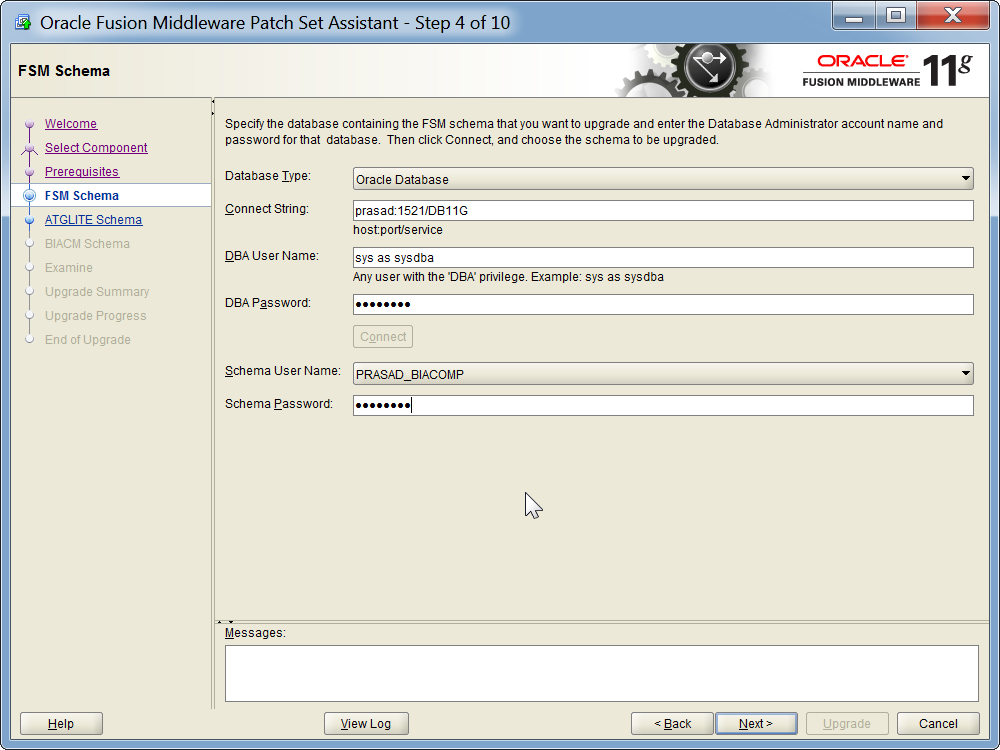
- Launch the Patch Set Assistant from ORACLE_HOME/bin.
D:\MW\Oracle_BI1\bin

2. 
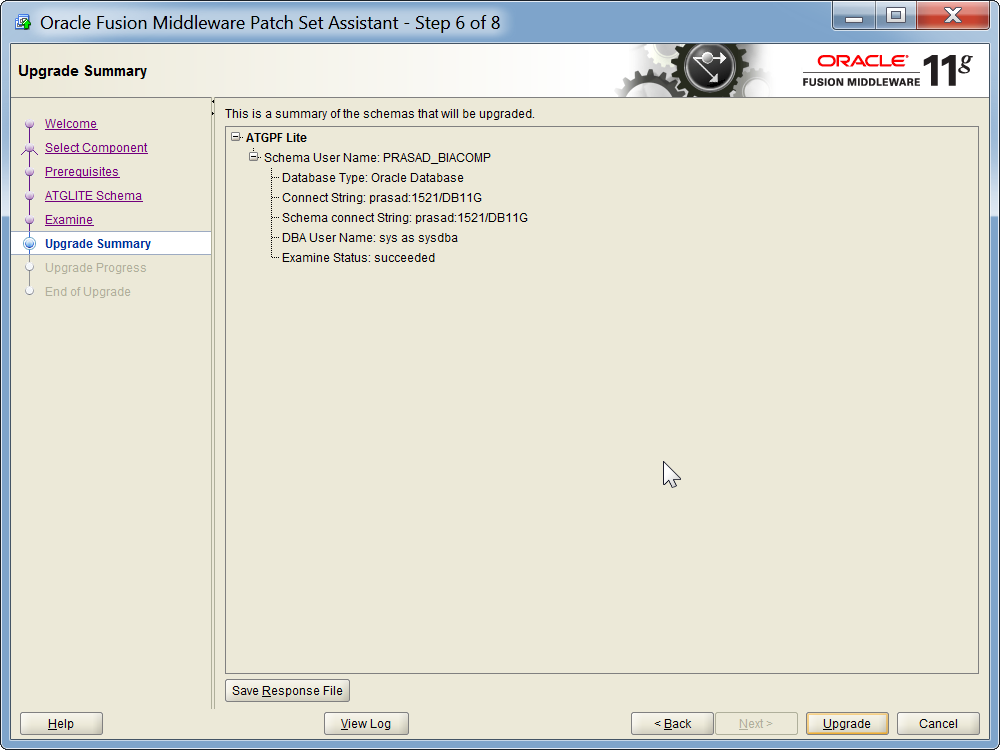
3. On the Select Component page, select ATGPF Lite, which selects the child option, ATGLITE schema, then click Next

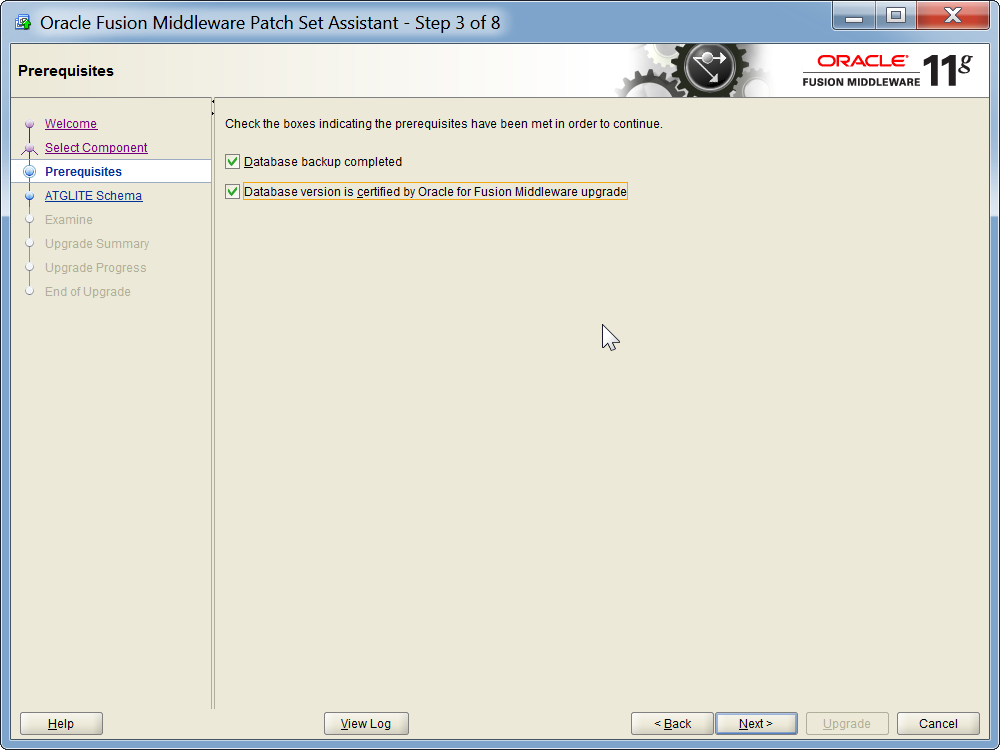
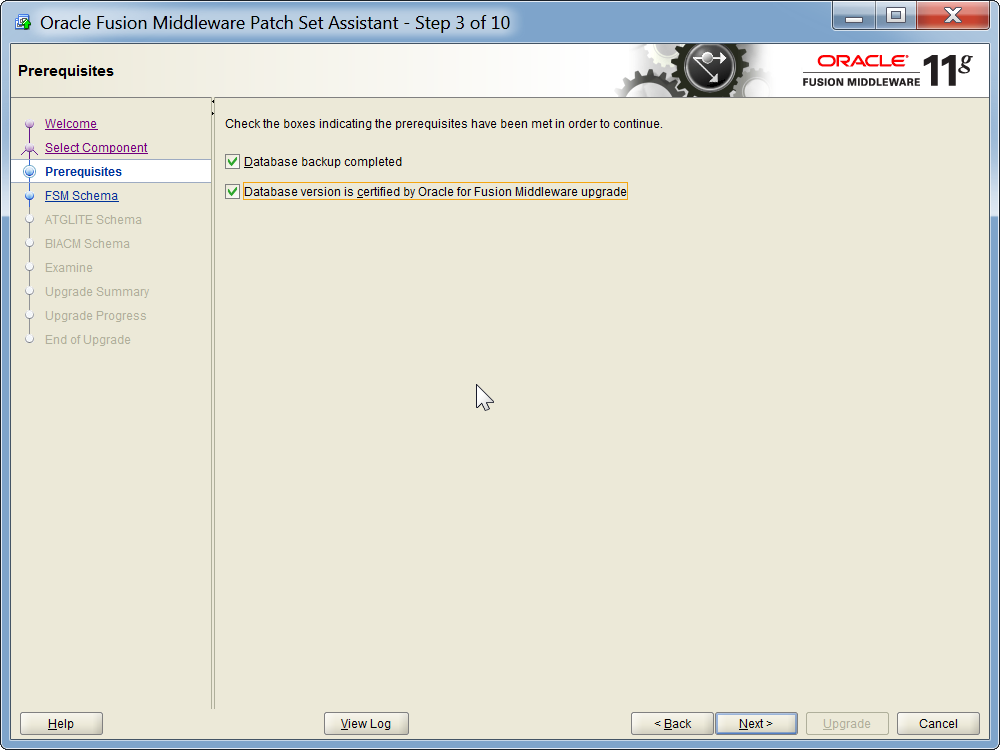
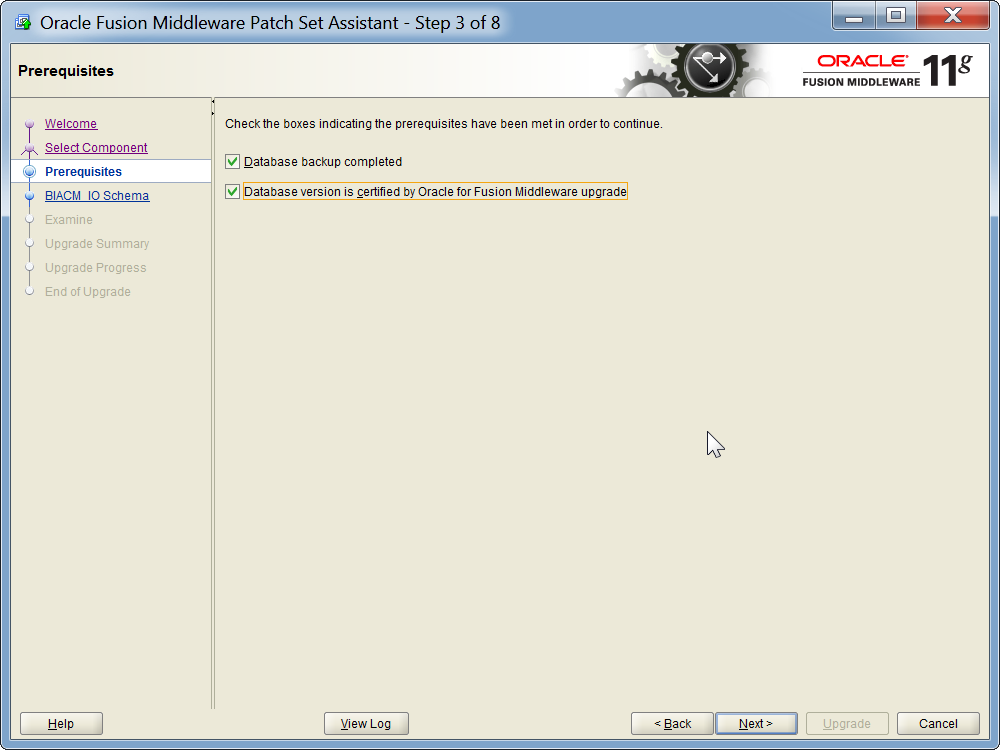
4 On the Prerequisites page, select Database backup completed and Database version is certified by Oracle for Fusion Middleware upgrade, then click Next.


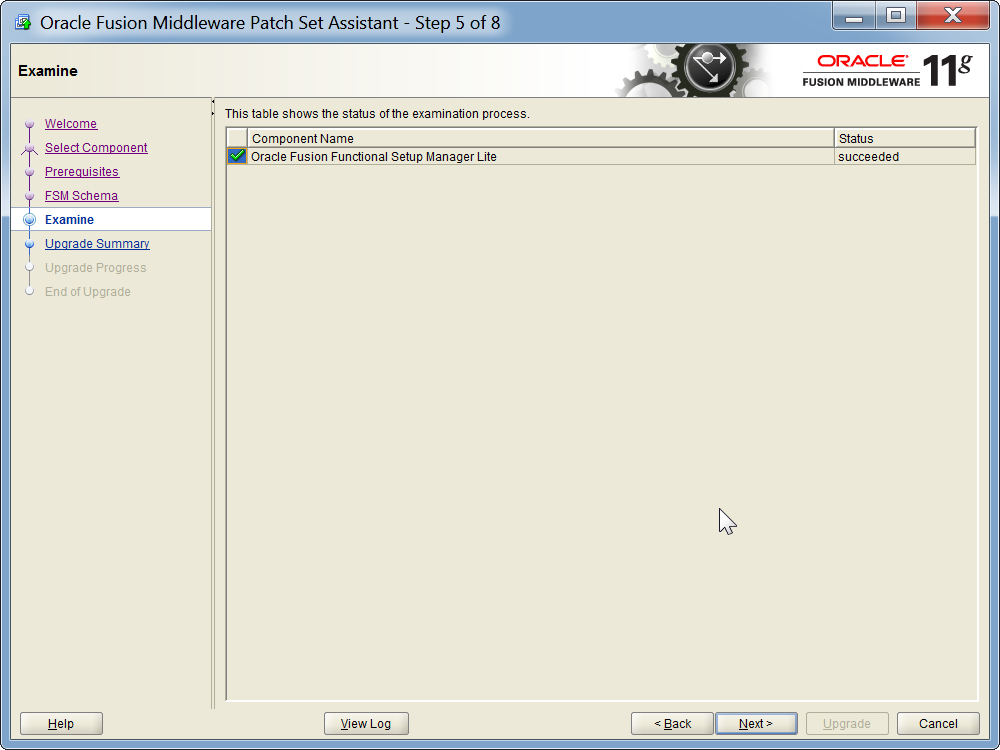
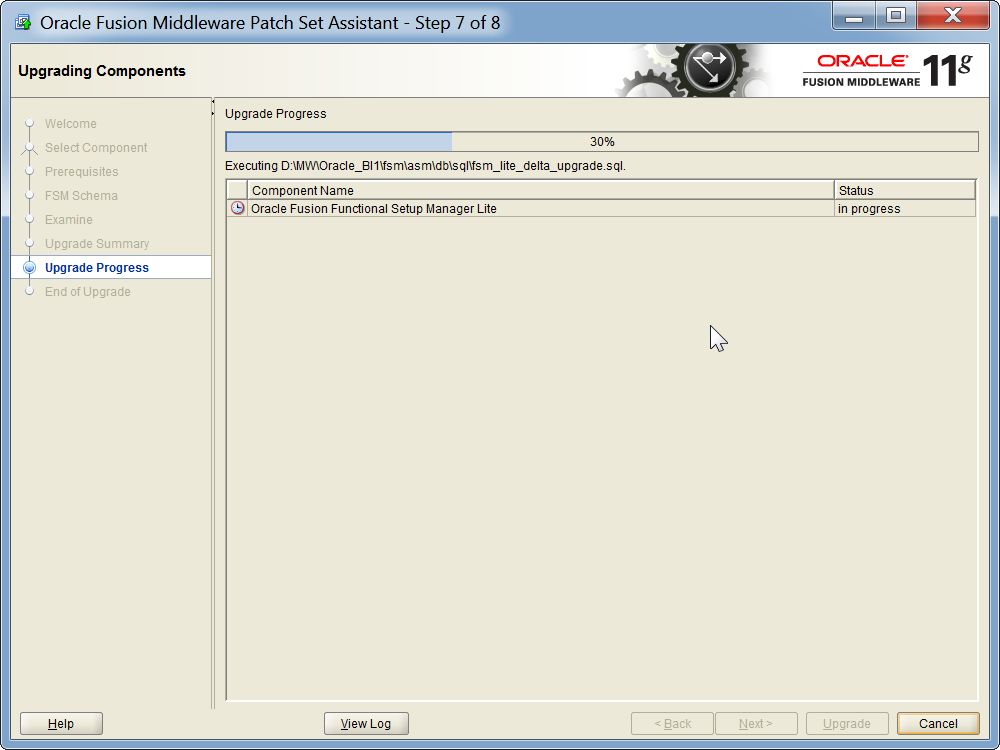
Updating FSM
- Use these instructions to update the FSM data in the BIACOMP schema.
- Upgrade FSM schemas from 11.1.1.7.0 to 11.1.1.7.3 before configuring BI Applications
- Launch the Patch Set Assistant from ORACLE_HOME/bin.
D:\MW\Oracle_BI1\bin


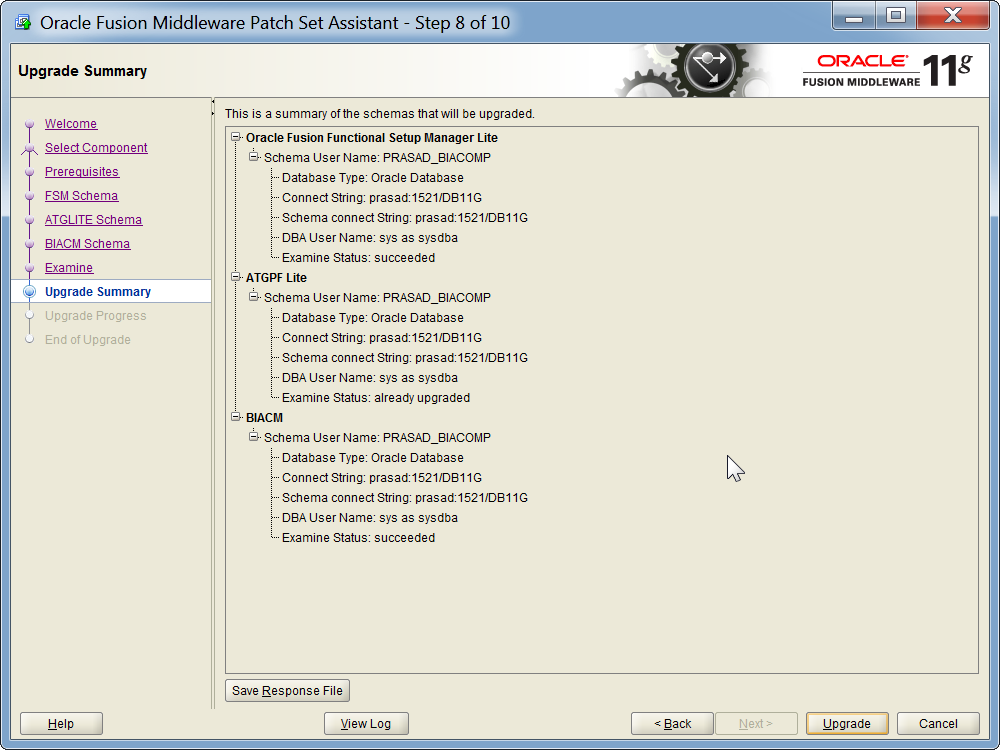
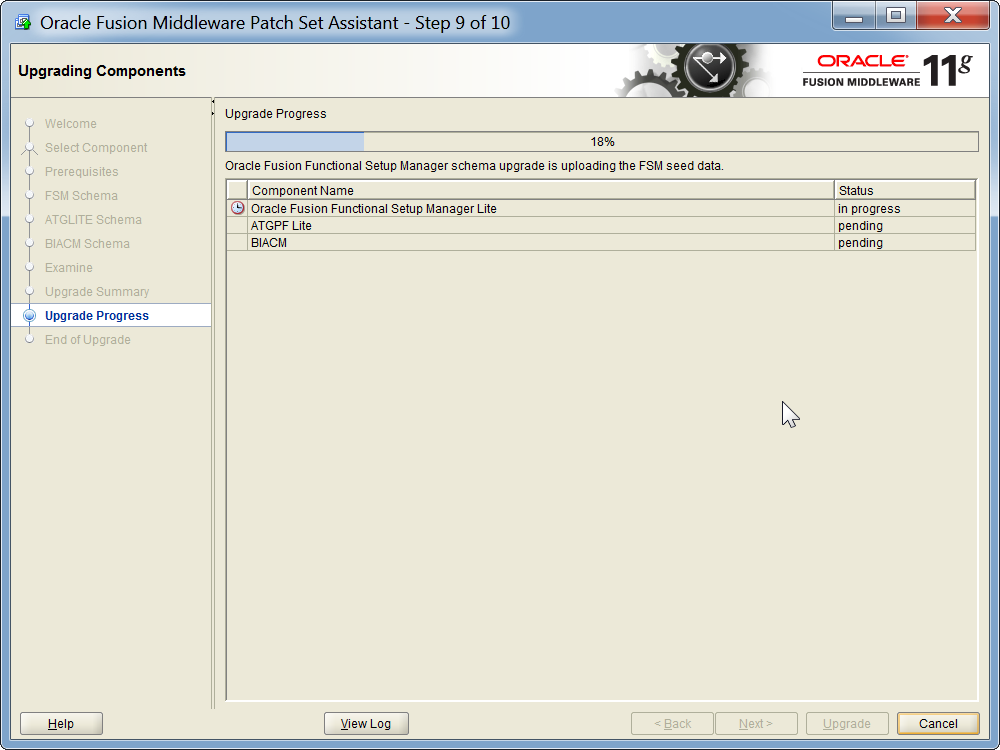
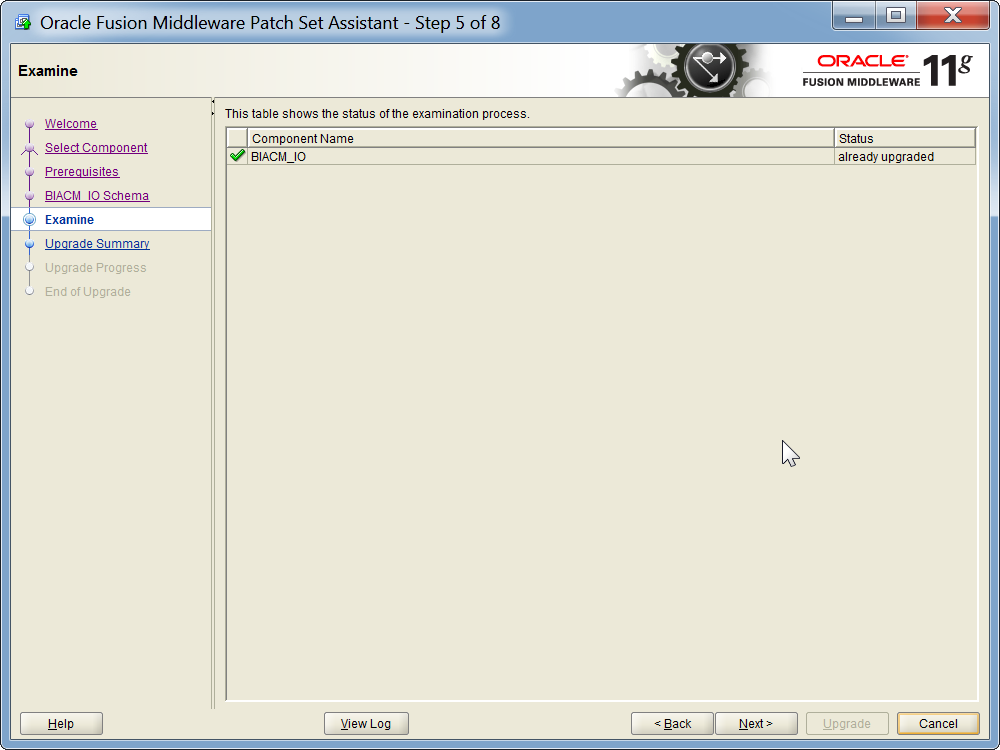
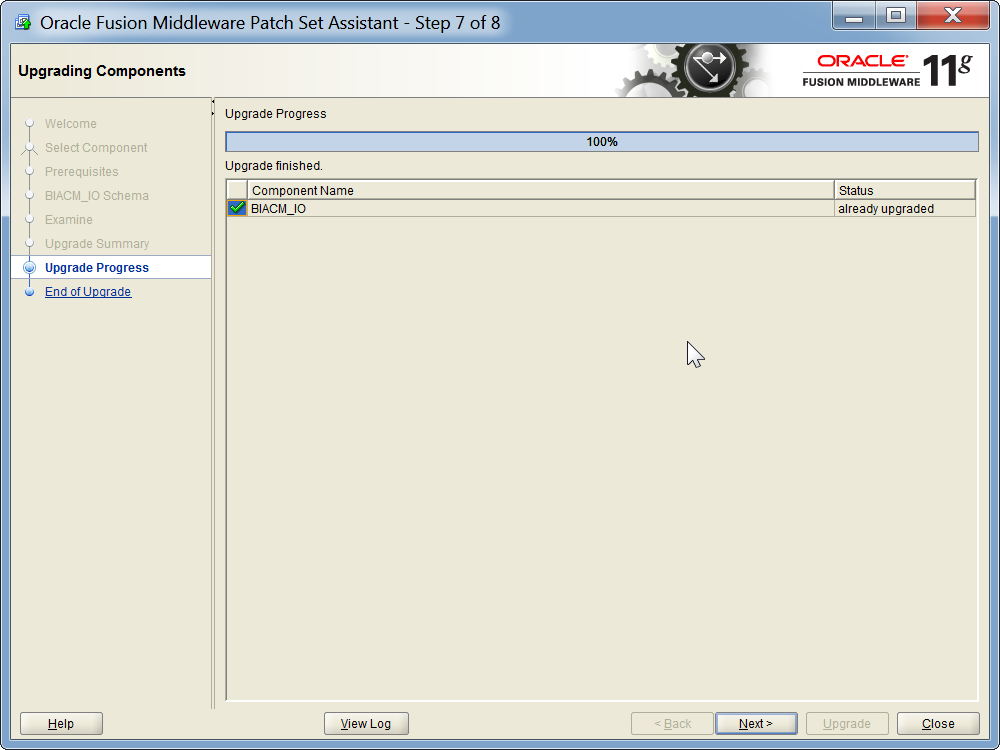
Updating BIACM
- Update the BIACM data in the BIACOMP schema.
- Upgrade BIACM schemas to 11.1.1.9.0 before configuring BI Applications
- Launch the Patch Set Assistant from ORACLE_HOME/bin.
D:\MW\Oracle_BI1\bin

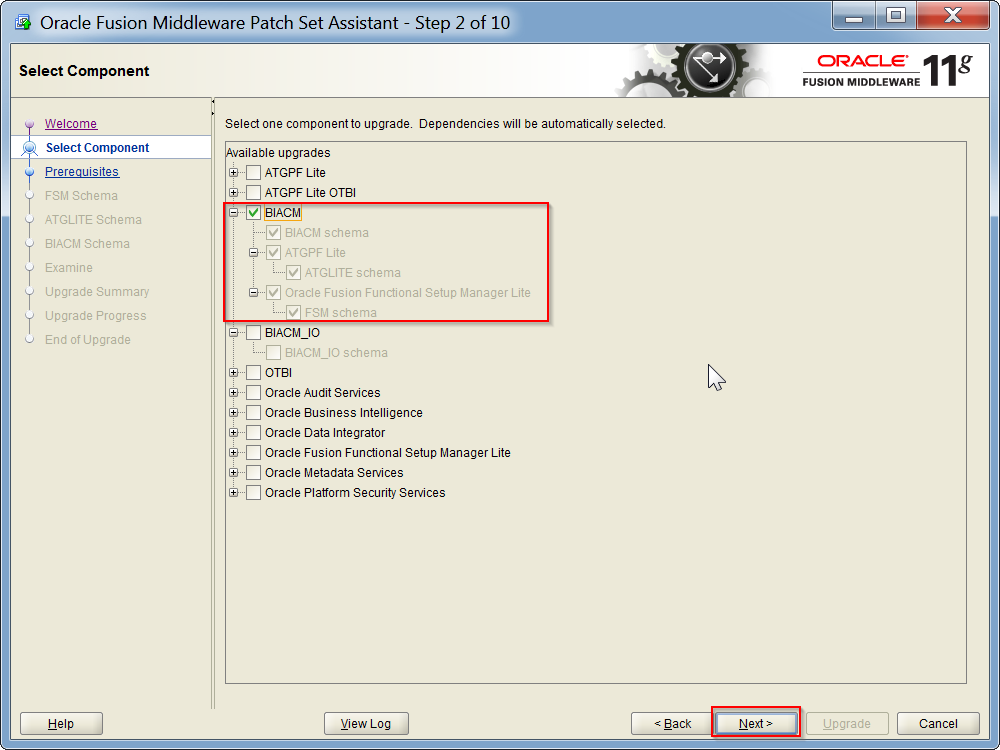

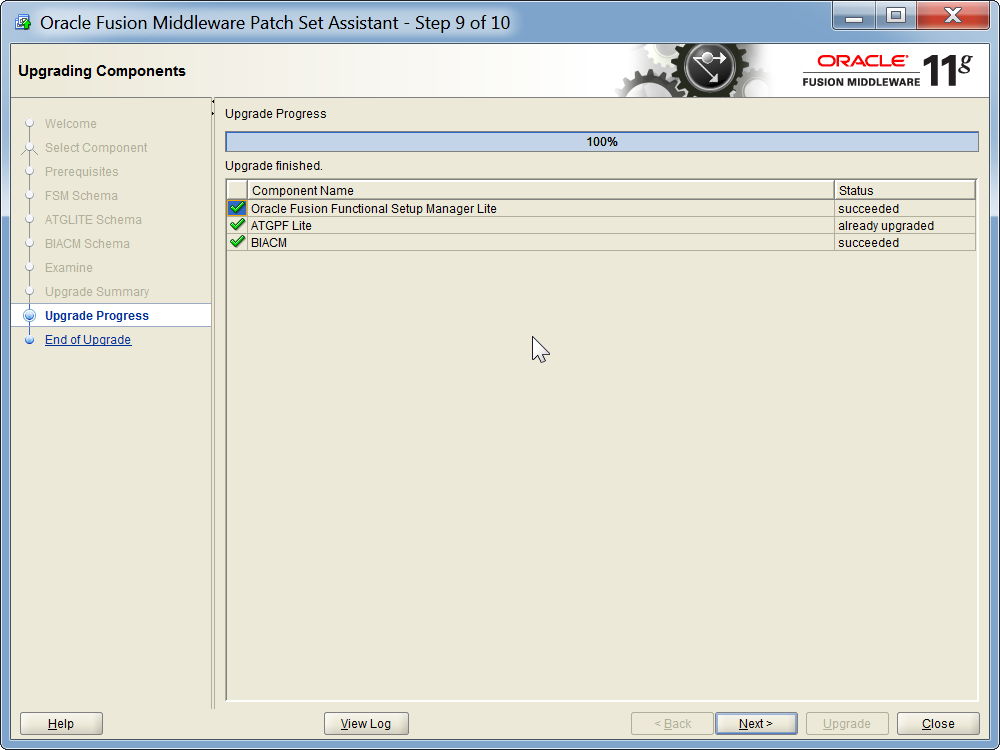

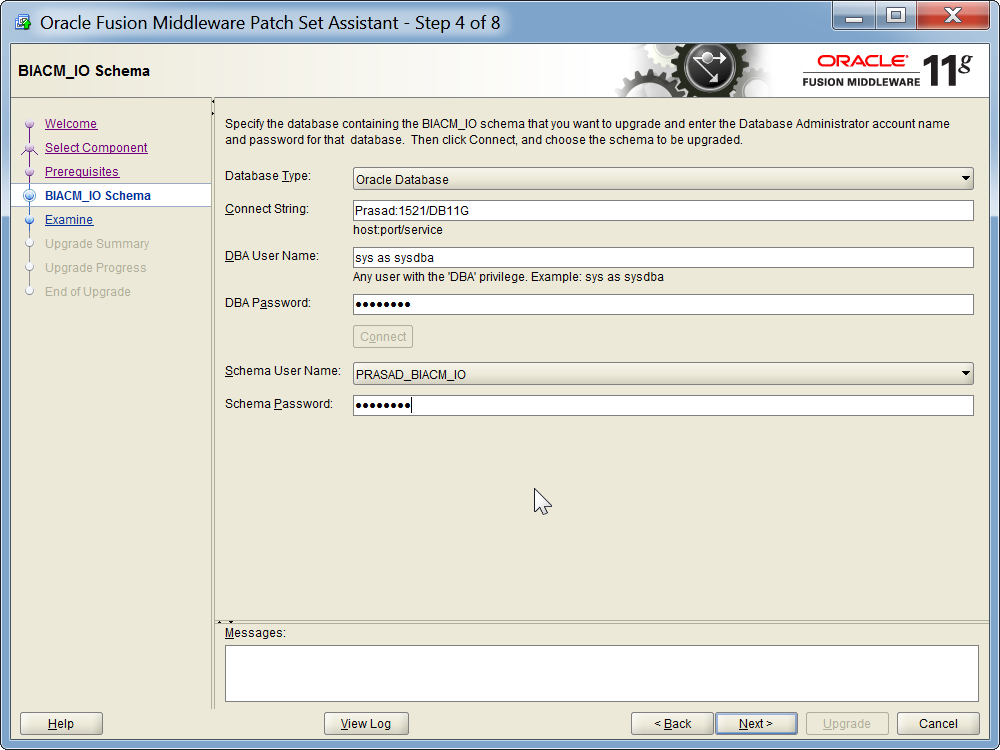
Repeat the same above steps for BIACM_IO
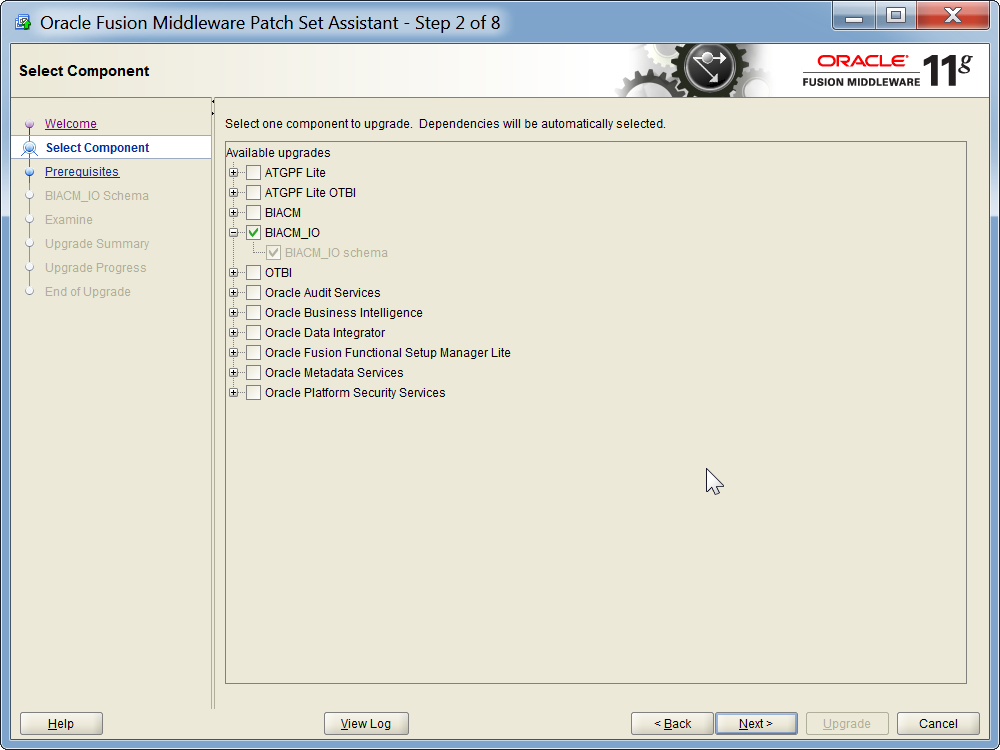


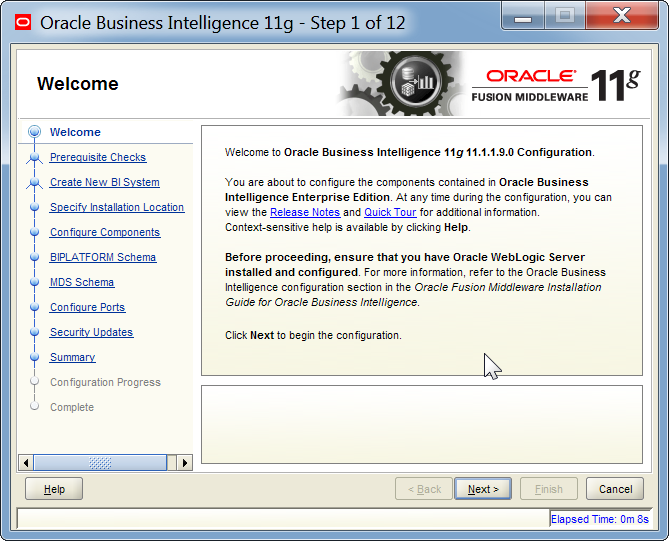
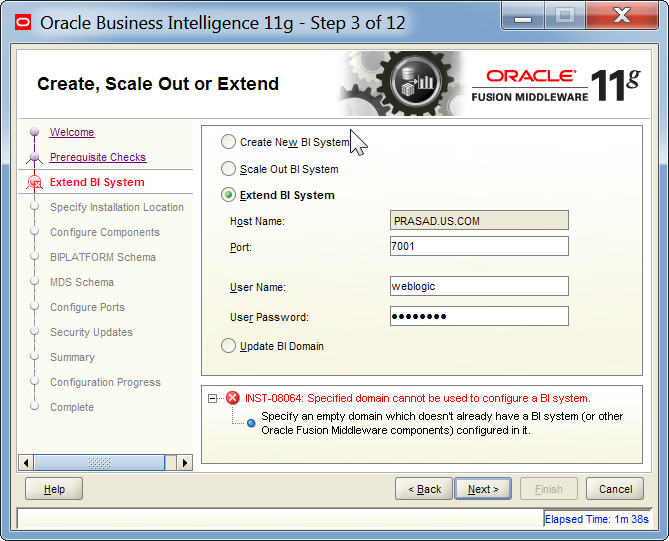
Configuring Oracle BI Applications


Excellent...You saved me. Very clear
ReplyDelete